
 English


 Ground Mounting System
 Roof Mounting System
 Carport Mounting System
 Farm Mounting System
 Easy Solar Kit
 Solar Tracking System
 Solar Inverter
 Solar Accessories
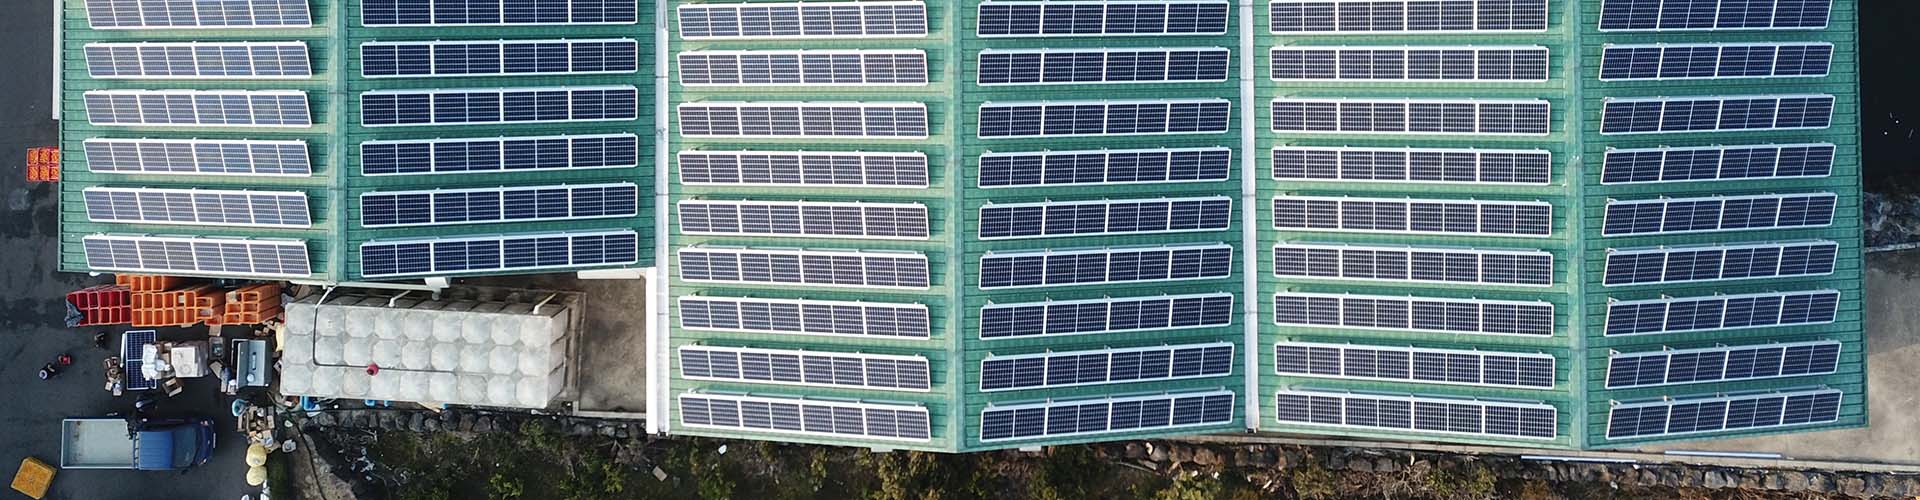
Construction instructions for installing solar roof brackets
The construction instructions for installing the roof solar mounting system are as follows:
Prepare tools before construction
1.Security tools
Pay attention to safety during construction; at the same time, please use the following tools.
 |
 |
 |
 |
 |
|
Safety clothing |
Hard hat |
Safety shoes |
Goggles |
Protective gloves |
2.Installation tool
 |
 |
 |
 |
 |
|
M8-M12 Allen wrench |
M8-M12 wrench |
M8-M12 Torque Wrench |
Electric rotor |
Knob Rotor |
 |
 |
 |
 |
|
|
Electric screw machine |
tape measure |
Rope |
Wooden Hammer |
|
List of accessories required for installation
 |
 |
 |
 |
 |
| Rail |
Rail splice |
End Clamp | Mid clamp | L foot hook |
Step 1: Install the L foot. Put the L foot on the roof, and then tighten the clamp with wood screws.

Step 2: Install the rail. Use the L foot to lock the guide rail and clamp it. Rail connectors can be used to connect rails.


Step 3: Install the panel. Place the panel on the rail, then use the middle and end clamps to lock the panel.


Step 4: Install all panels. Repeat step 3 until all panels are installed.

Categories
New Blog
For inquiries about our products or pricelist, please leave to us and we will be in touch within 24 hours.
 RM502, Sihai Smart Zone, No.189, Fanghu West Road, Huli District, Xiamen, Fujian, China.


© Copyright: 2025 Xiamen Wintop New Energy Tech Co., Ltd.. All Rights Reserved.

IPv6 network supported


