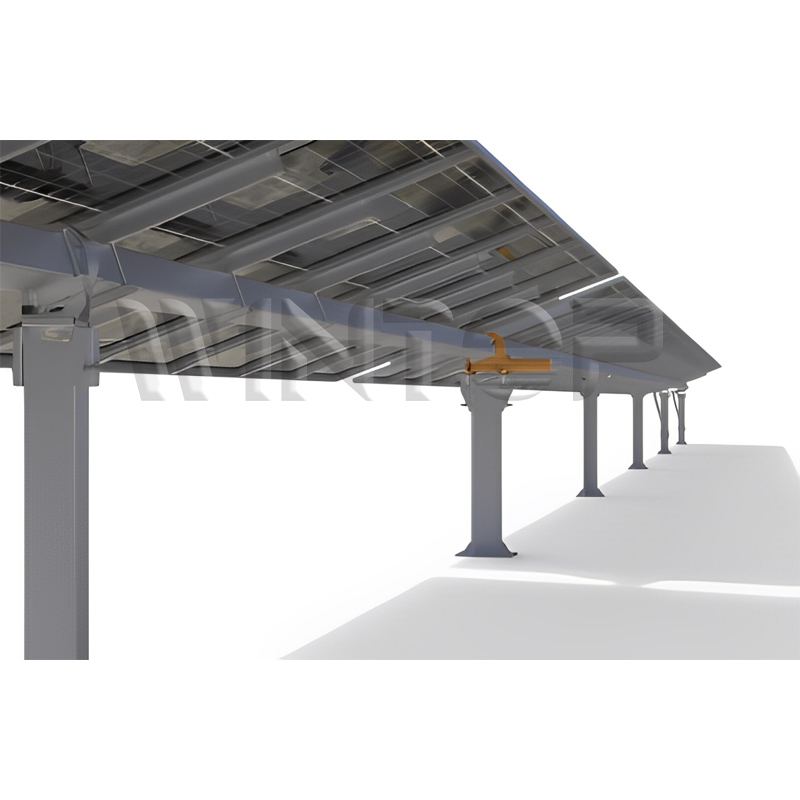
How to install a solar tracker?
The installation of solar trackers requires some professional knowledge and skills. It is recommended that you hire a professional solar system installation company to complete it. The following are the installation steps for a general solar tracker:

1. Determine installation location: Choose a location that is unobstructed and can fully receive sunlight radiation for installation. Considering the movement of the tracker, ensure that there are no trees or buildings around that will block the sunlight.
2. Preparation of foundation: Based on the size and weight of the tracker, prepare a suitable foundation, which may require foundation excavation, concrete pouring, or installation of anchor bolts.
3. Install shaft and drive system: According to the installation guide provided by the manufacturer, install the shaft and drive system of the tracker. The axis of the tracker is usually installed horizontally or vertically, and the appropriate direction is selected according to the needs.
4. Install brackets and solar panels: Install brackets and solar panels according to the design and requirements of the tracker. Ensure that the brackets and panels are securely and smoothly installed.
5. Connect the electrical system: Complete the connection of the solar panel, lead the wires out of the panel, and connect them to the inverter or battery system.
6. Testing and adjustment: Conduct system testing to ensure that the tracker can operate normally, and adjust and calibrate as needed.
Categories
New Blog
© Copyright: 2025 Xiamen Wintop New Energy Tech Co., Ltd.. All Rights Reserved.

IPv6 network supported